Wednesday, November 20, 2013

ROCK 'N ROLL


Howdy Y'all!

It's the old 'good news, bad news' story; yes, we just had our first load of stone delivered for the exterior of the house. That's the good news. The bad news is that the stone masons won't be showing up until Monday! This is now 3 weeks after we approved the stone selection, 3 months after we discussed the stone type and color, and nearly 7 months after starting the house. Don't get us started! For those of you planning on building a new home, add 3 months to whatever completion date the builder estimates, and buy a boat load of Tums.

The Waldo question - Where in the world are the stone masons? (Lonely stone.)
Thankfully, we still have plenty of activity progressing inside the house. The carpenters are busy inventing things on a daily basis. As an example, most of the large windows have arched transoms. We thought that one could just order curved wood trim precut from the mills. Noooo Bucky, that isn't the way it works, at least not at our house. Each of the arches has to be measured and radiused separately, the wood has to be cut into bendable strips, then individually glued and nailed together, and finally, sanded and placed over the window transom. Although there is a lot of labor involved (think builder $$$), the end result is pretty awesome.

Creating the jig for the bendable strips, glued and nailed.(Dining Room)
Out of the jig and ready to be sanded (back side).
James sanding the laminated arch front.
First arch installed over the Great Room doors.
Meanwhile, out at the pool…. Last week Emilio started placing tile under the edge caps and completed that portion on Monday. This week he started applying grout to the completed edge tiles, and also tiled the top and sides of the negative edge wall. 

Workin' the grout! 
Finished product!
Infinity edge ready to be grouted.
As part of the pool design, stone columns were also built to support two shallow pots (official name - scupper pots - no idea what that means) which will pour water into the main pool. For a preview of what the stone on the house will look like, this is a good example.
Stone columns for 'scupper pots'
Exterior view of the stone columns.
Jan supervising the tile and stonework.
Back at the house…. The finish carpenters are also designing and assembling the custom cabinetry for each of the closets. We chose not to have those built by the cabinet makers based on time and overall expense, but we are extremely happy with the individual designs and quality of build we're seeing. Nothing extravagant, just very functional.
Guest Room closet.
The beginnings of Jan's closet. Room for 200 shoes!
At the same time, the carpentry team is finishing out the baseboard trim, window trim, crown molding, and hanging doors. Busy guys!
Baseboard design.
Doors, doors and more doors! (Garage)
And, over in the detached garage, the texture crew finally applied the orange peel texture to the tape and float work from last week. Doesn't look like much of a texture, but after a coat of primer and two coats of paint, the texture will stand out.

Texture layer in the detached garage and upstairs casita.
Hopefully by the next blog update we'll have some stone on the house to share with you. Keep your fingers crossed for us!
See ya later!
- John and Jan - 

Wednesday, November 13, 2013

TANK YOU!

Howdy Y'all!

When we left you last week, the tank pad for our water collection system was being worked on. That part was completed last Friday, and other than the cattle and deer checking out the density of the sand on the pad, all went well. They still need to regrade once the collection line pipe is in place.
Completed water collection pad (with cattle prints).
And today, finally, we have a water collection tank! After months of planning, sorting through possible contractors, making the selection, and watching the rains pass us by, we now have something to start harvesting rainwater. Lest y'all think we're out here playing Daniel Boone and foraging for our food, water collection for residential homes is actually quite refined, high tech (see our earlier blog on the technical notes), and becoming commonplace here in Texas on ranches. The tank was assembled today in about 6 hours by a team of six people (kinda anti-climatic after all these months). Of course, we still need the connection to the rain gutter system on the house, but hey, we're getting there! The tank is visible from the front driveway even though it is 300 feet from the detached garage. Need some more trees planted.
The tank is 7.5' high by 33' wide. About 52,000 gal.
A closer view.
In the meantime, we have a number of other projects underway, and finally some real activity again. Our Trim Guys arrived on Friday and began laying siege to ~1000 linear feet of baseboards, window trim, and 700 linear feet of crown molding. James and Buddy were joined by Jim and Frog (yup, that's his name) today, so sawdust was flying everywhere. Hopefully, the pizza inspired them to creative greatness.
Frog laying the first step of the baseboards.


Guest room trim, baseboards, and crown moulding.


Exercise room trim out.


Along with the trim work, the finish carpenters are also hanging the doors for each room. Unfortunately, we discovered today that the door company sent the wrong color hinges with the doors, which will necessitate changing out every hinge in 29 doors. Not a problem for us, but the carpenters weren't too thrilled (welcome to some of the pleasures of home building!).
Master bathroom doors.
On the other side of the house, the work on the detached garage continued, albeit slightly behind the main house activity. The first tape and float work has been completed on the garage section below, and the casita upstairs. 
Detached garage right to left: Doorway upstairs, water heater closet, storeroom/saferoom under stairway.
View of the garage from the other side.
Almost finished upstairs casita studio.
In addition to all of the inside work being completed, our pool guys have been busy cutting and installing brown Lueder stone edging around the pool. We've been impressed with the amount of detail that has to go into measuring, cutting, leveling, mortaring and polishing each piece of stone. 
Step 1: Measuring and setting the stone in place.
Step 2: Cutting and leveling the stone in place.
Step 3: Mortaring and polishing the stone (infinity edge catch basin).
Step 4: Working and trying to answer all of John's dumb ass questions.
Of course, we still have some small odds and ends to fix before we can proceed to the next big step. One of those was to slightly redesign the main fireplace chimney, which got its first scratch coat of stucco today. Tomorrow they will complete the second coat, along with the trim work, which will enable the roofers to finally complete that portion of the tile roof (we don't want stucco mud slathered all over the roof tiles!). 
Main chimney change. Needed to be bigger for Santa Claus.
By the time you read the next blog, we hope to have stone on the ground and the rockin' of the exterior walls. Can't come too soon!

But Wait, There's More!

It can't be 'all work and no play' all of the time. So, this last weekend we put down the hardhats and shovels (right!) to join some of our ranch mates to quaff a few beers at the New Braunfels WerstFest. For the out-of-towners, this is an annual  German fest that has been held here for about a thousand years, or as far back as anyone can remember, and consists of eating just about every German menu item imaginable, and hoisting as many beers as your budget can tolerate. (Word to the wise - they have more beer than you have budget.) In any case, we all had a great time together enjoying good eats and good friends.
Left to right: Jan, Jerry and Cindy Miller, and Craig Miller (only one husband).
Our table mates were thirsty!
Well, that's all for now.
See ya later!
- John and Jan - 

Wednesday, November 6, 2013

WATER LOGGED

Howdy Y'all!

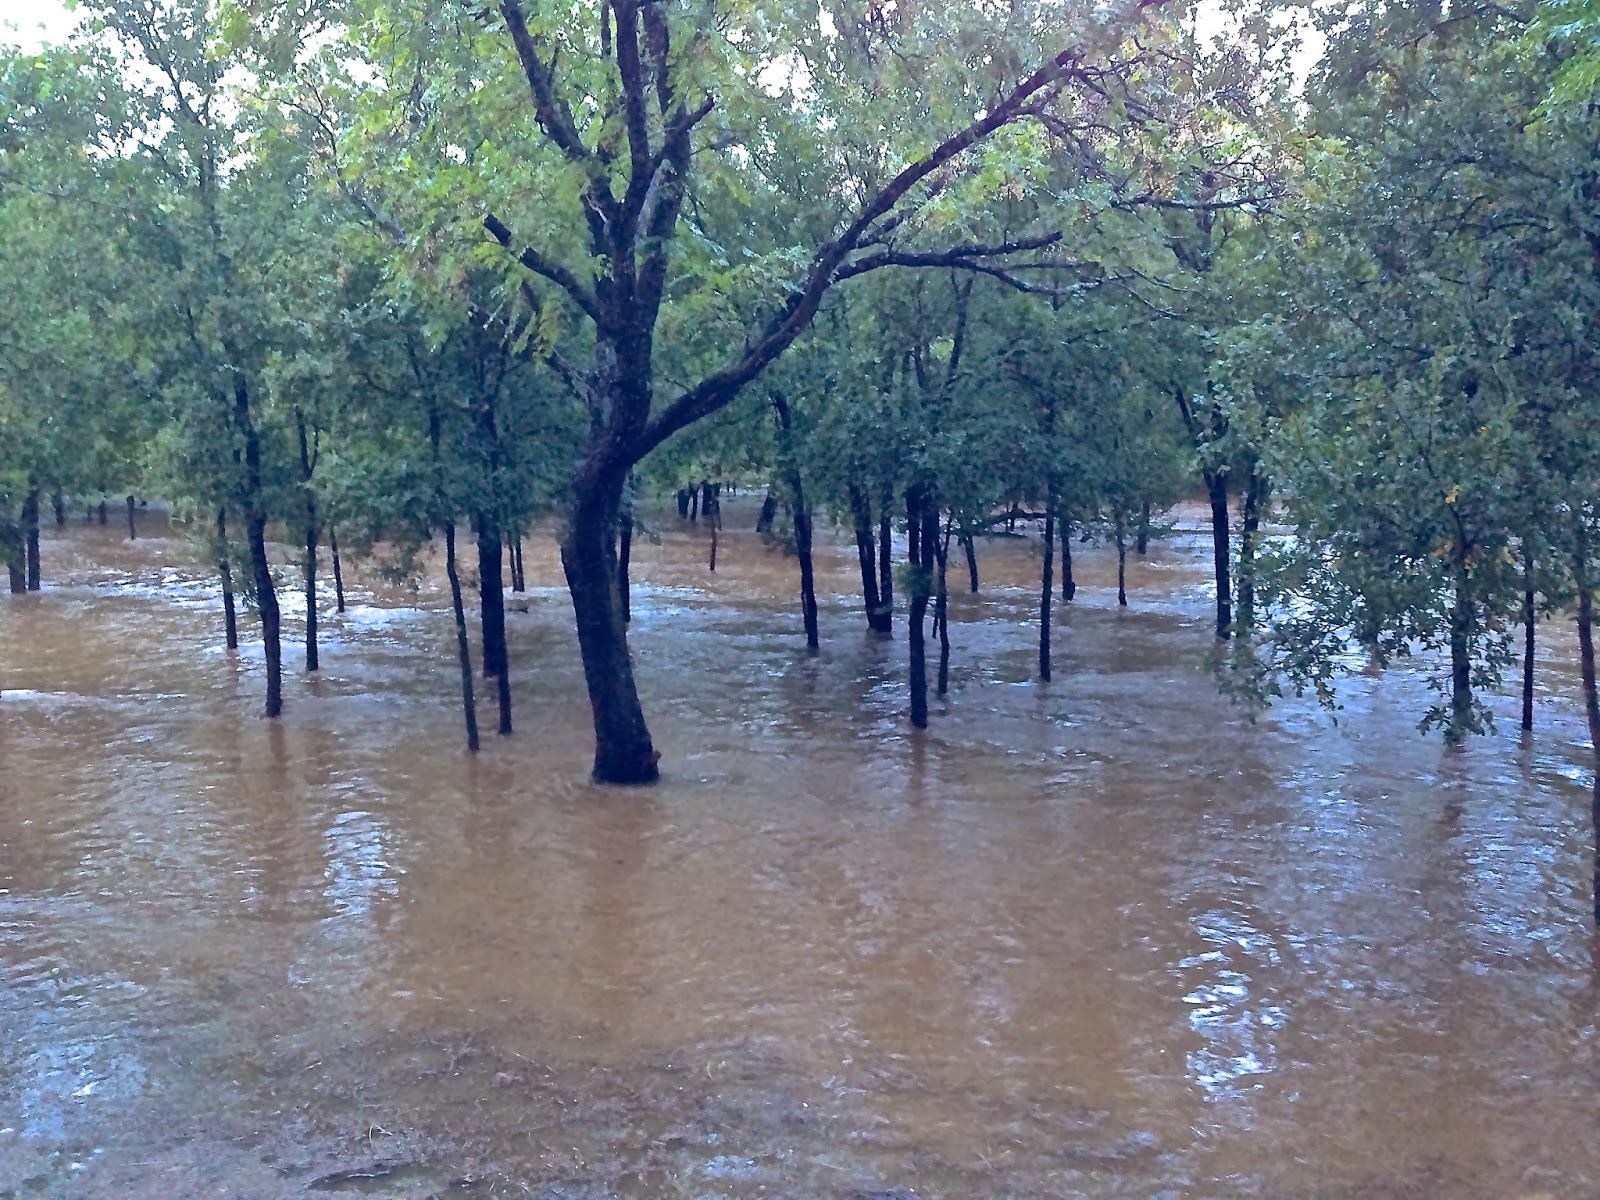
We've had quite a week since our last blog post. We had the opportunity to experience our first, real Texas-size rainstorm here last week. Not quite Ark-building time, but we did get 12 inches of rain in less than 12 hours. That officially helped to make last month the wettest October month here since 1906 (not that anyone is keeping records or anything). For us here at the apartment that we've been renting, we watched Purgatory Creek overflow its bank and turn our serene, park-like backyard into a fairly serious runoff that ran constant for 24 hours. This was some serious water!
Our formerly dry apartment backyard.
Thankfully, even with all of the rain, the new house survived with no issues inside or out. The positive outcomes of all of this rain is that it gives us a very good picture of how the water runs on our property to properly apply drainage, and it filled up all of the neighbor's water collection tanks to the brim (sadly, not ours yet). 
The next day after the rain stopped, the pool guys were there bright and early to start applying the gunite layer over the rebar. Actually, as it turned out, it was a perfect moisture level and temperature to properly cure the gunite. At this point, the pool will remain in its current state until the patio decks are completed and there is stone up on the house. Here are some different views of the finished (well almost) product.
View from the patio. The outer wall is the 'infinity' edge.
View from the outdoor kitchen and bar area.
Now from the other direction. We're done.
Along with the pool activity, the team building the water collection tank pad have been busy as well. The tank will hold 51,000 gallons (more on that next week) and measures about 33 feet in diameter, so the pad that supports it measures 40 feet x 40 feet, and consists of 24 inches of road base (compacts down like concrete, but porous) and 8-12 inches of fine sand on top. The biggest challenge in building it has been that the slope creates an optical illusion; it looks level, but actually drops 30 inches over the 40 foot length. The trick, as explained to me, is to laser-level the ties, and sink 4 foot steel rebar through each one. Time consuming and tedious, but necessary nonetheless. In theory, this pad should last 25-30 years with minimal maintenance; this is fine with us since it will probably outlive me, and I won't care after that. 
Grading the foundation and retaining walls.
View from the other side.
Last but not least, the insulation guys came out today to complete the work on the detached garage and the Casita  apartment (current called a 'storage area' in case the tax man shows up) so that the drywall can be installed there. 
Ceiling and partial wall foam insulation under the 'storage' area.
Casita studio apartment (oops, storage area) foam insulation prior to drywall.
That's all for now. 
See ya later!
- John and Jan -